Skip to content
Litetrace
Products
Keilton+autani Products
EcoSystem
Data and Services
TAA-Compliant Products
Firmware and Software Update History
Services
Resources
Press
FAQs
Videos
Webinar
About us
Contact
EN
中
Search…
Registration has been disabled.
×
Subscribe to our Newsletter!
Subscribe to our newsletter and stay updated.
Don’t miss our news and updates
Leave this field empty if you're human:
Compare Products
No products were added to compare list
Return to Shop
BillDa
0 customer review
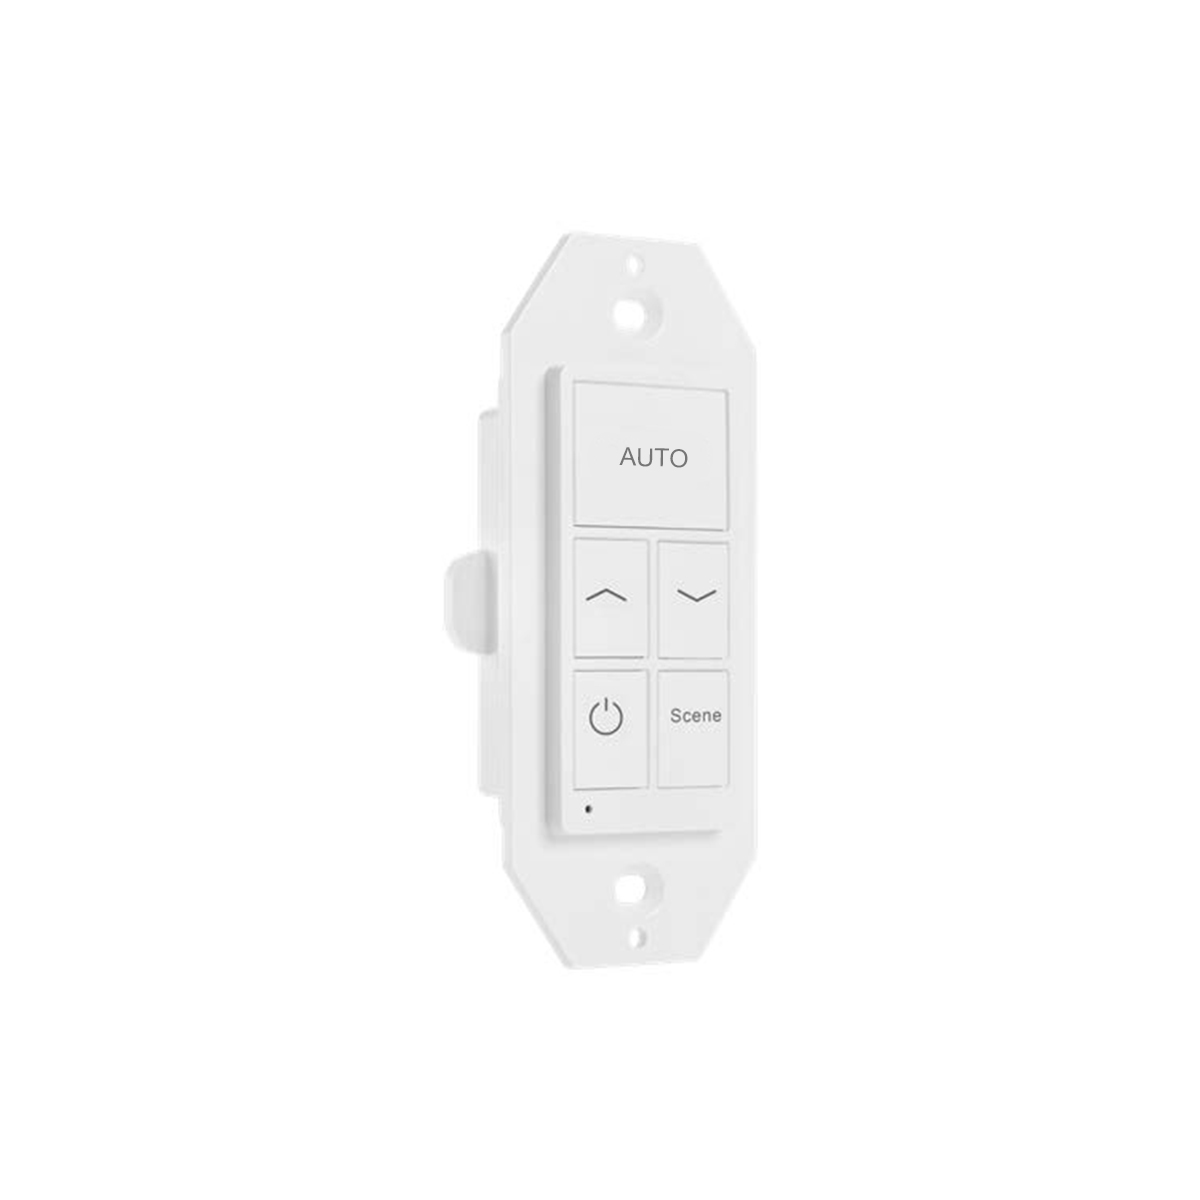
WP1025A
0 customer review
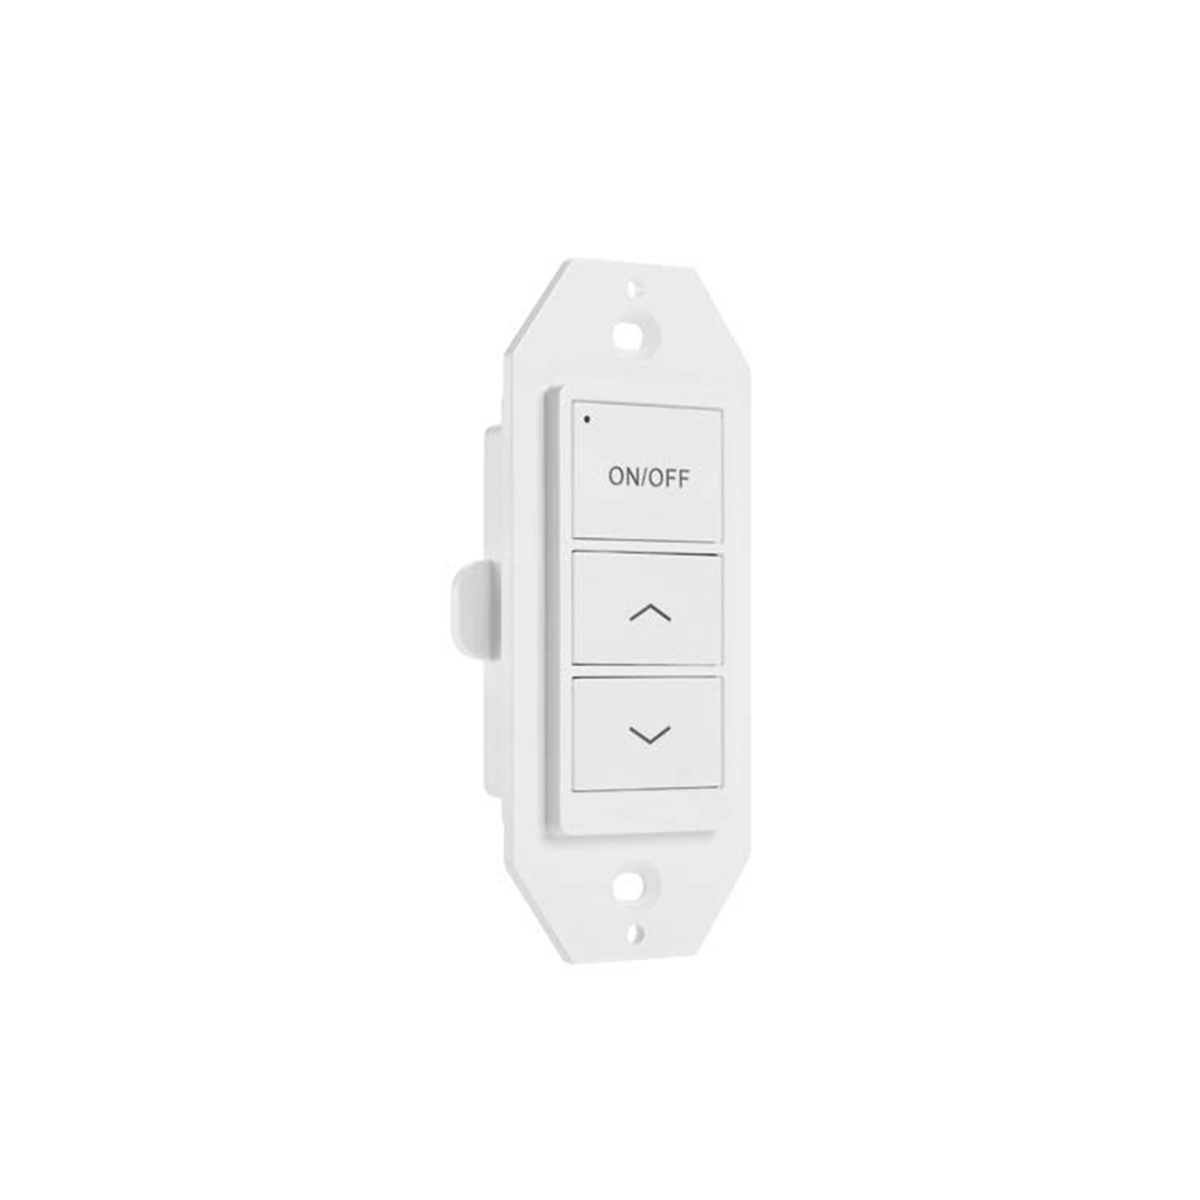
WP1013A
0 customer review
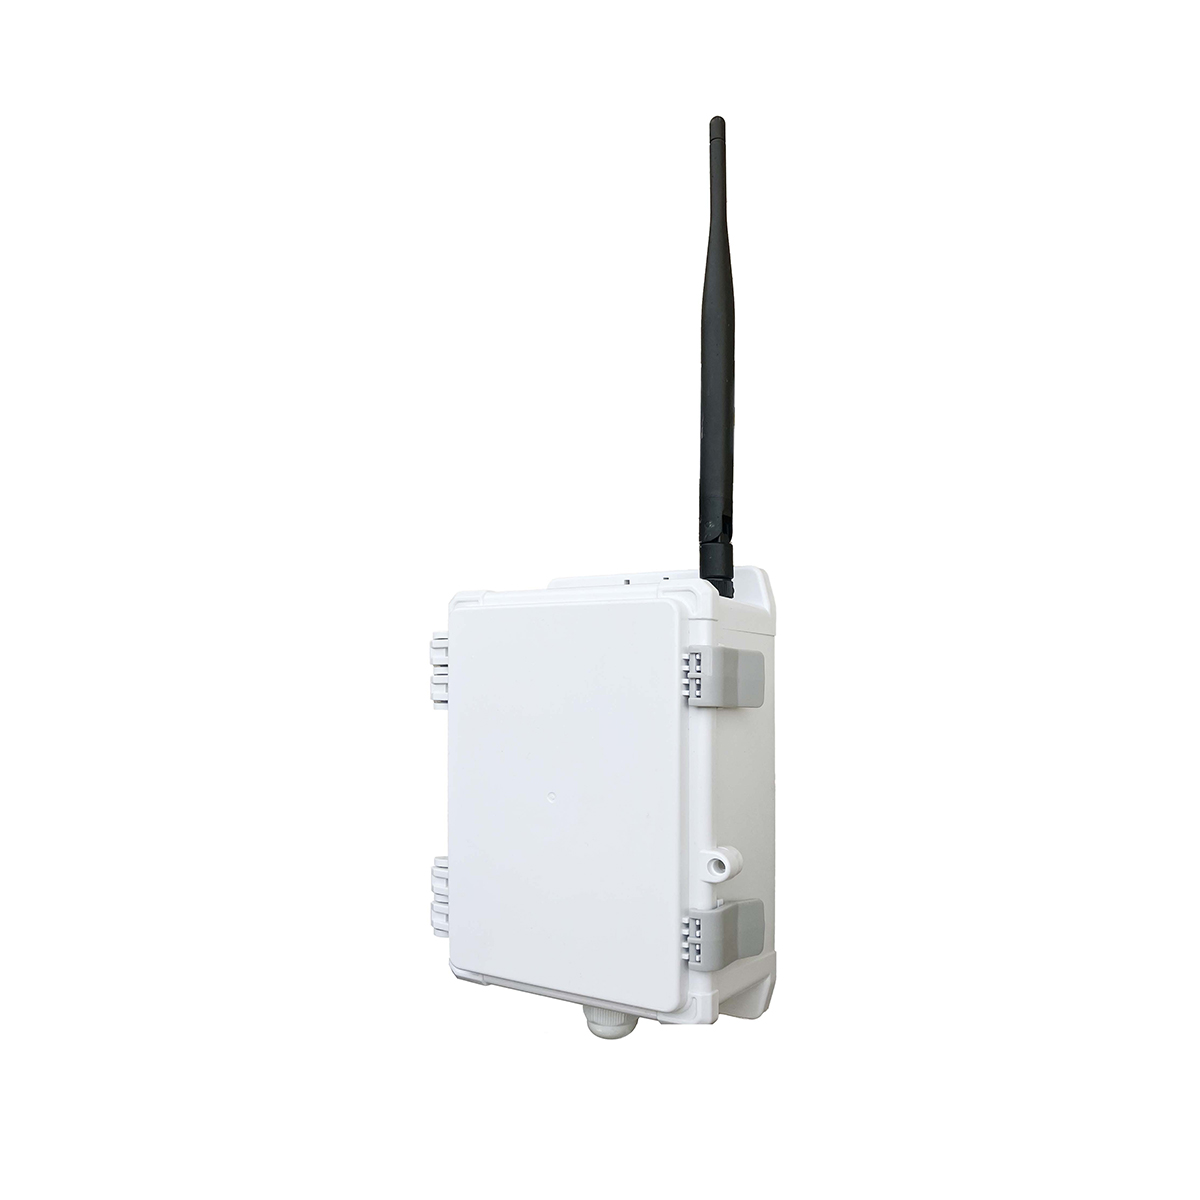
CR02-W-ENCL
0 customer review
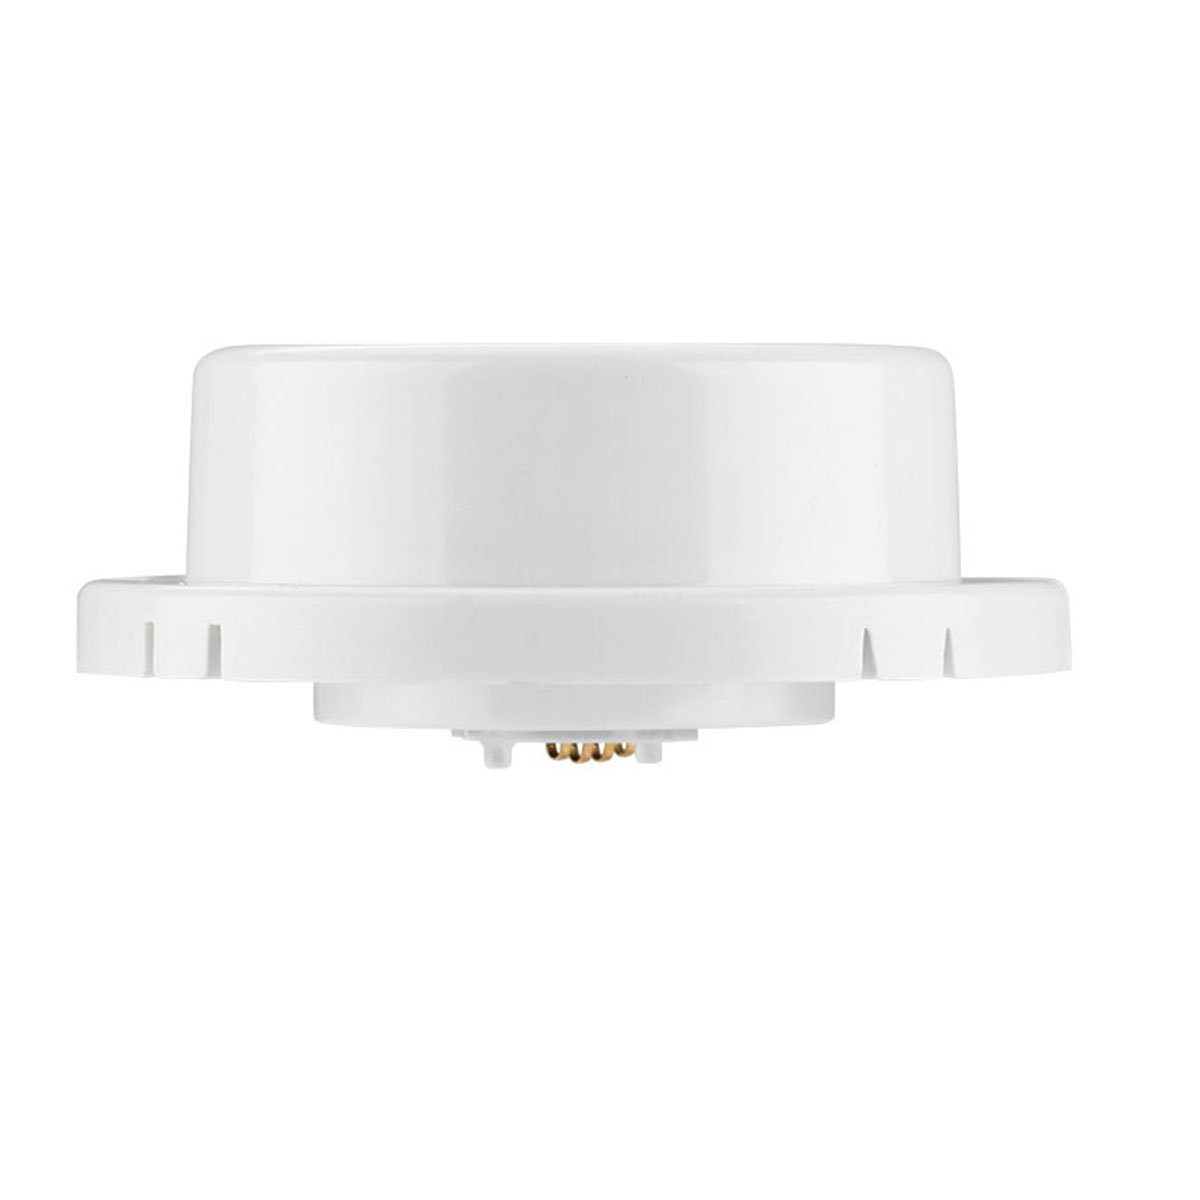
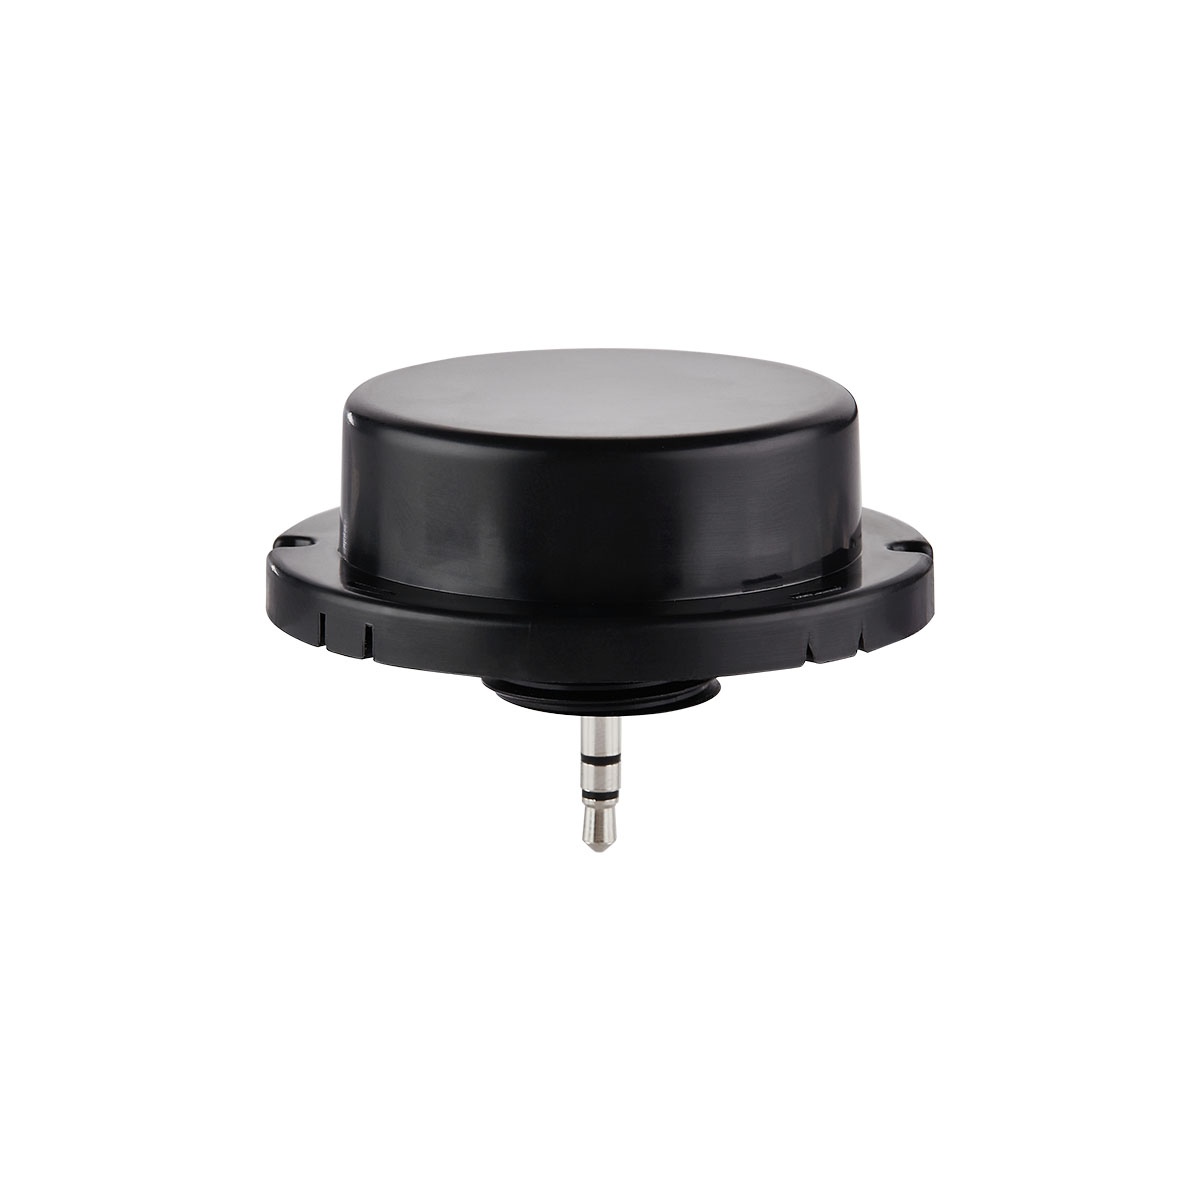
WPPA102-BH4.A0
0 customer review
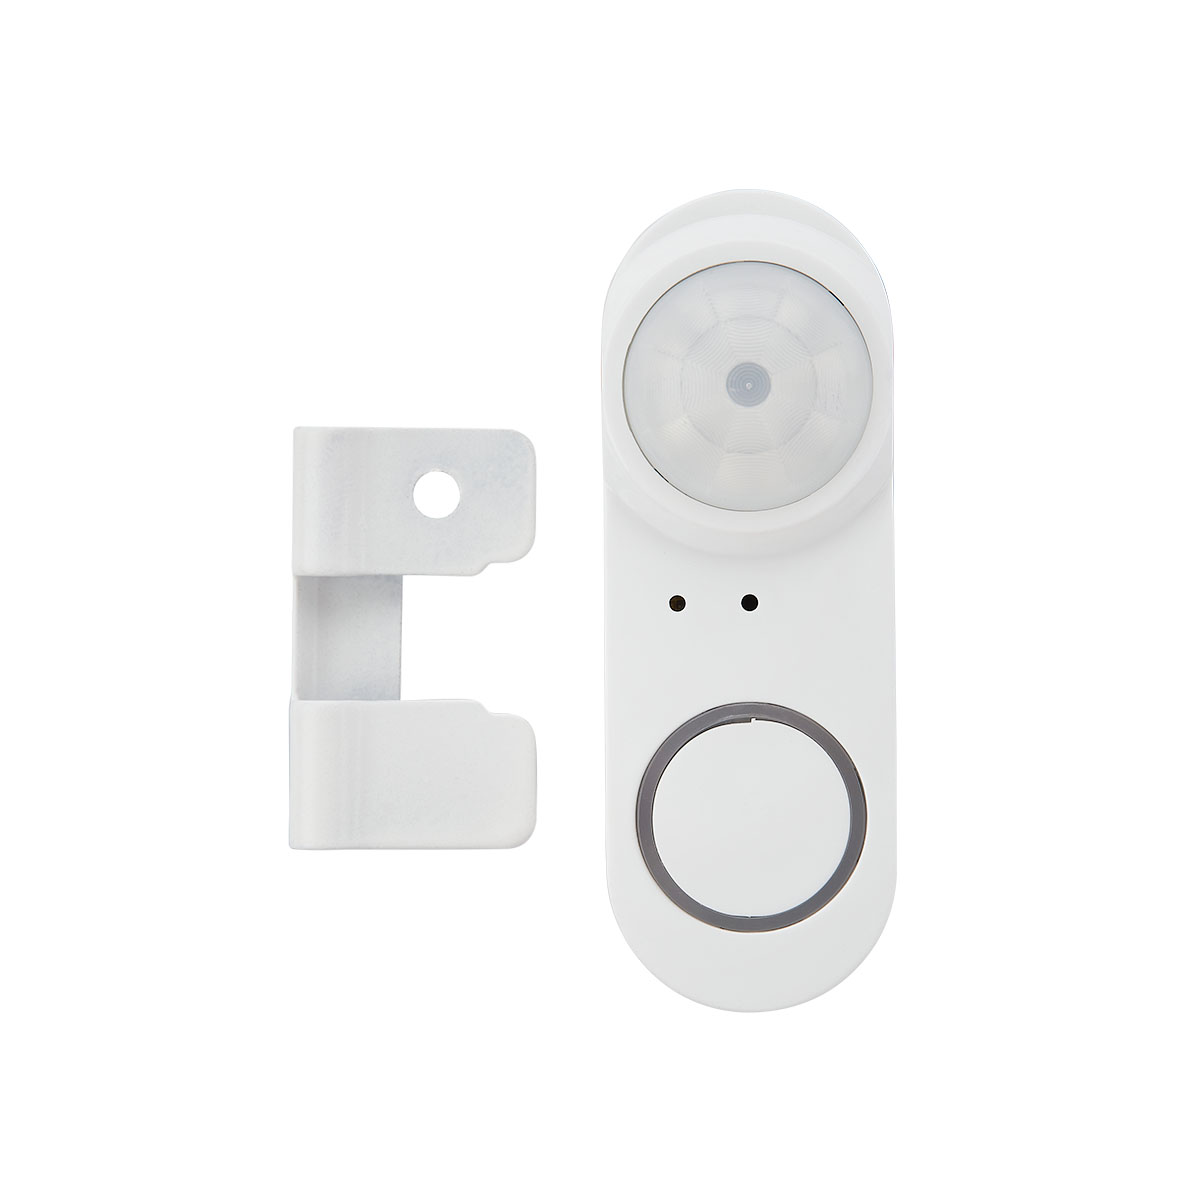
EFS106-AUX-W KIT
0 customer review
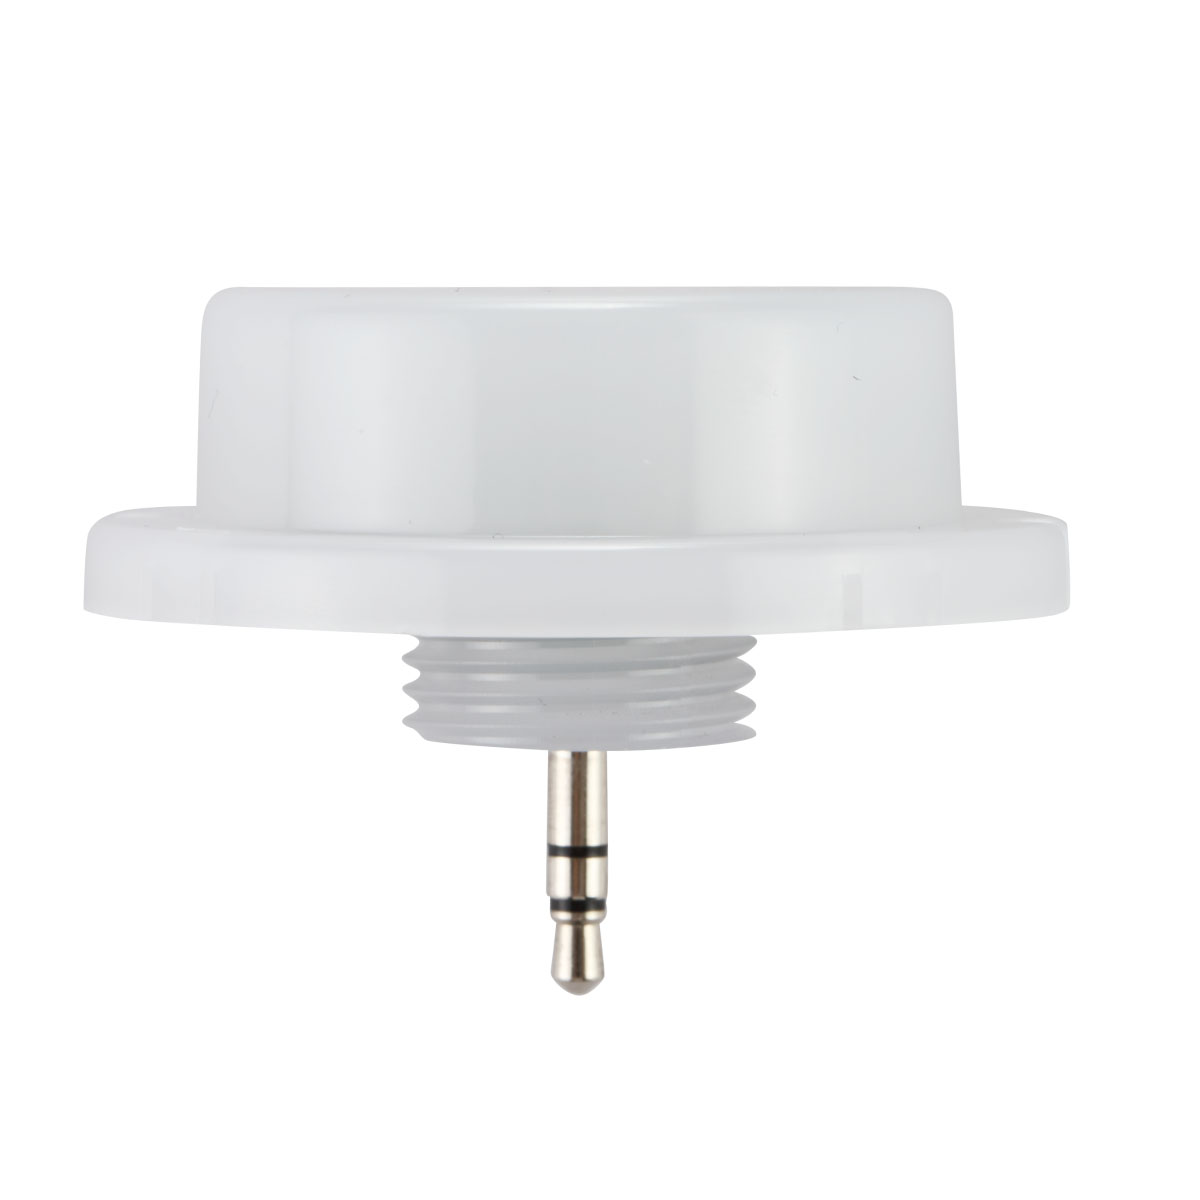
WPPA102-AUX-W.A0
0 customer review
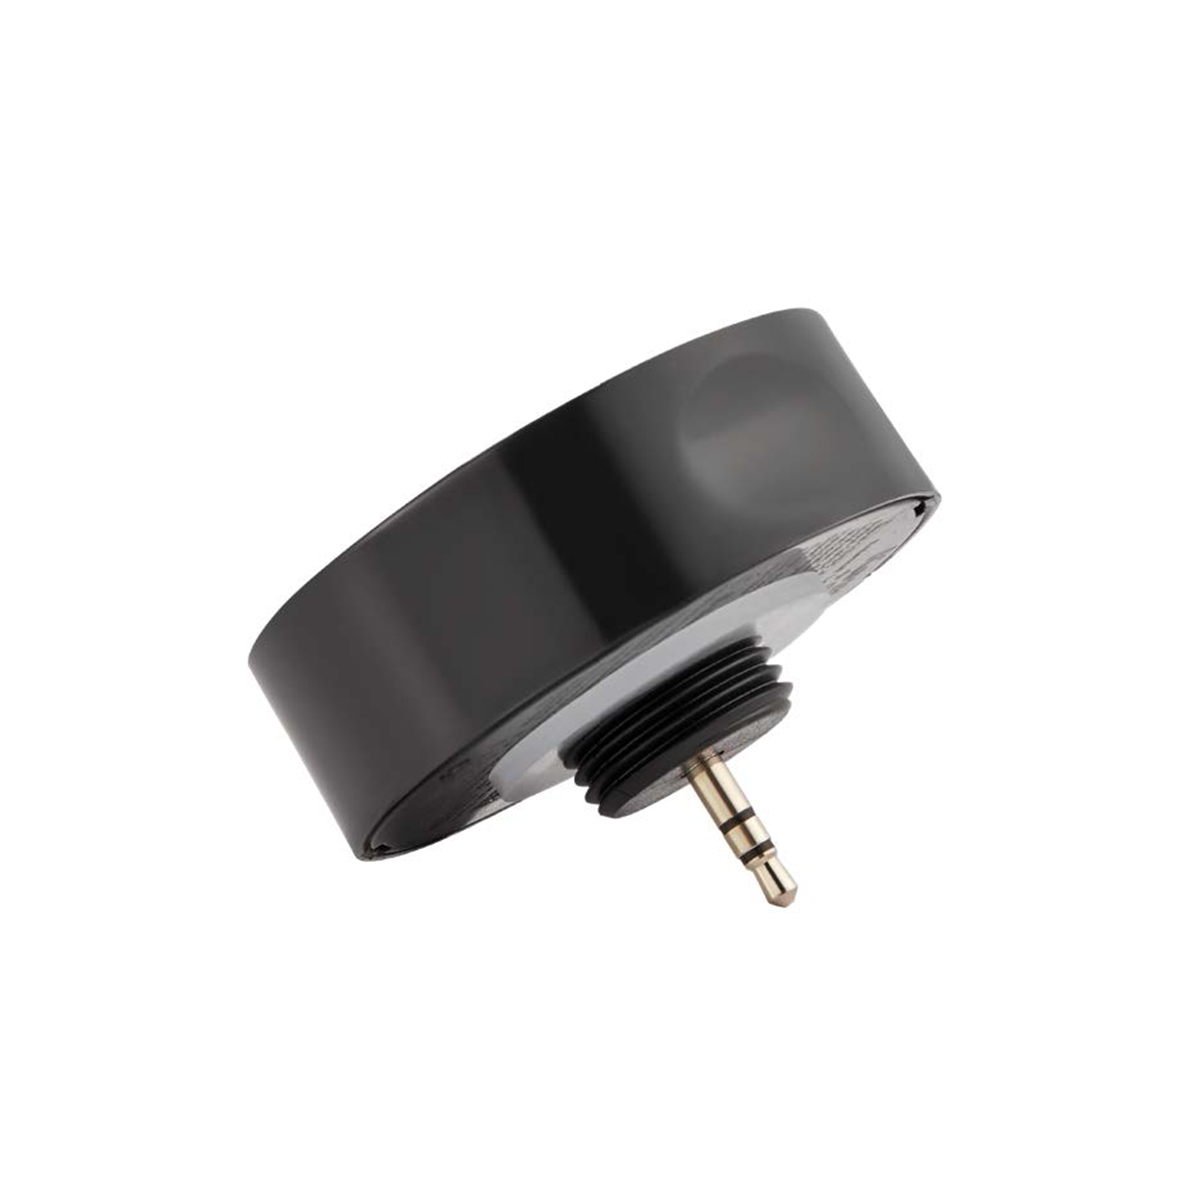
WPPA102-AUX.A0
0 customer review
IFS108-N.A1
0 customer review
IFS108-AUX.B1
0 customer review