Hardware (2)
- Open the Motion Sensor Testing function on the More page.
- Select “Start Testing”.
- Open the Lights page.
- Walk around under the sensors in question.
- The lights icon will indicate “ON” when you are near the sensor.
- This will identify the sensor and the associated icon in the app.
- Then press and hold the icon till the “Light Dimming” page opens.
- Rename the sensor. Suggest using naming to indicate location, i.e., room number or room name.
- Open the Groups page.
- Add the sensor to the group of lights you wish to control.
- Select the “Light Bulb” icon in the group and then select the “Motion” setting button on lower right-hand corner and choose the settings for your group.
- Select “Save” when complete.
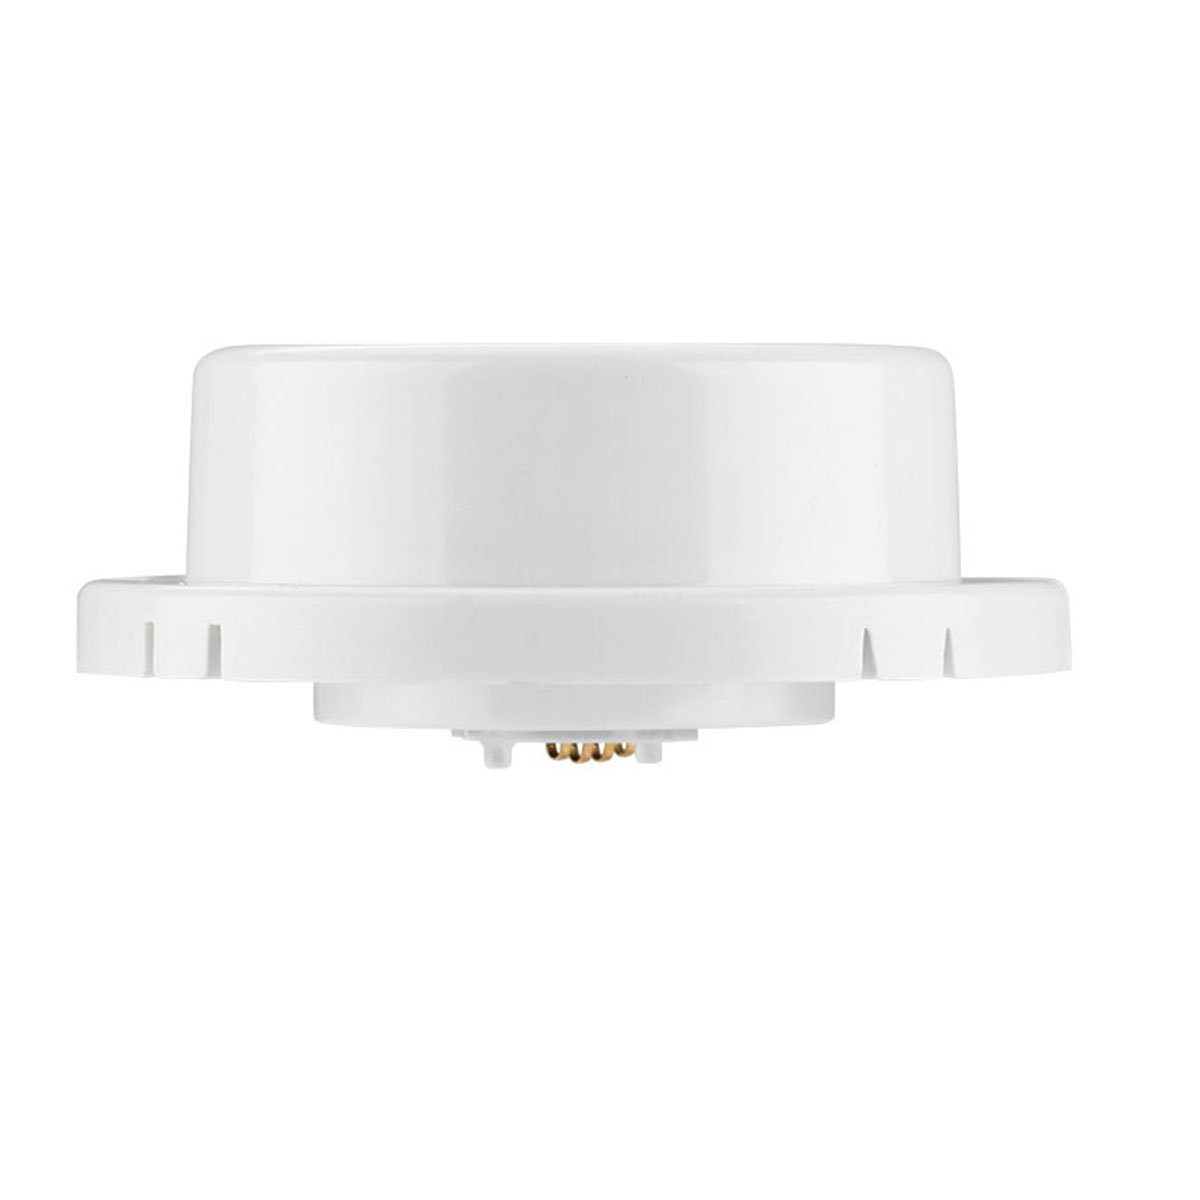
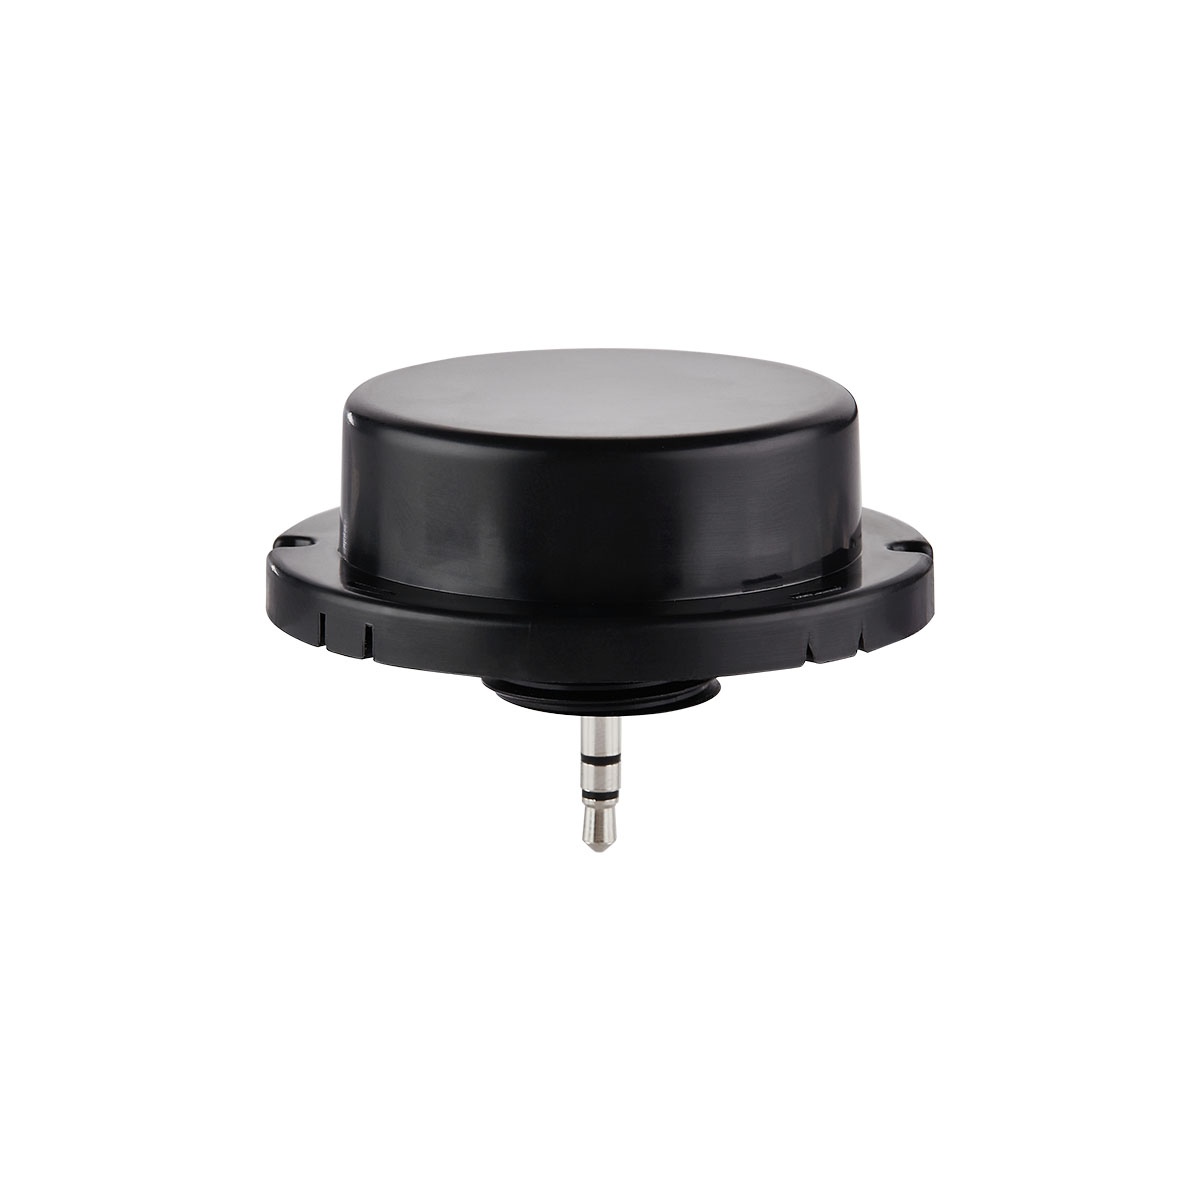
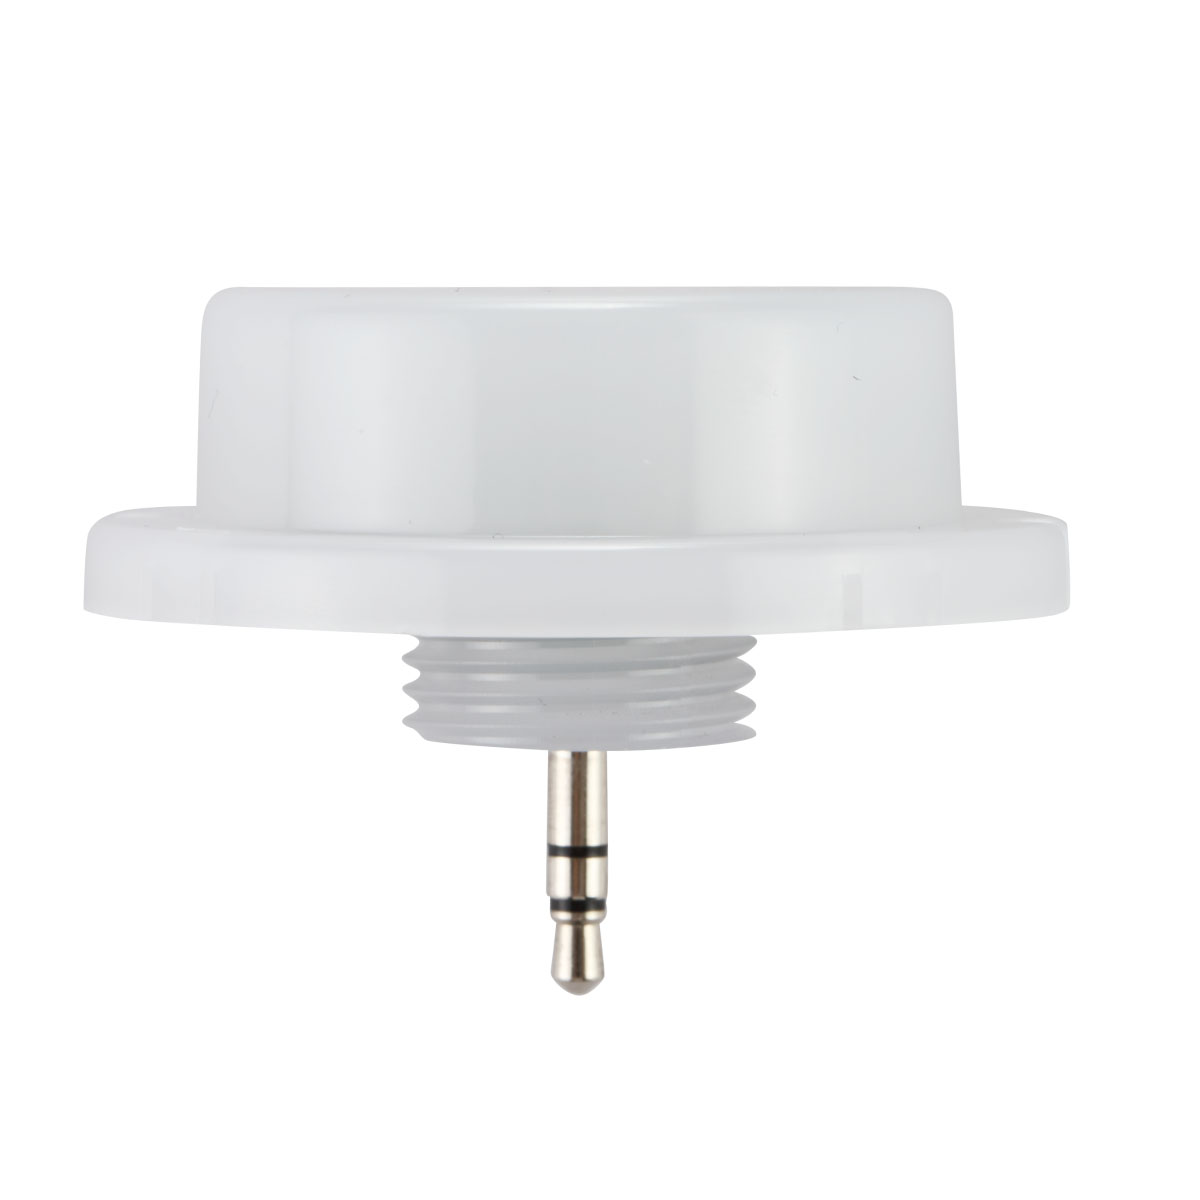
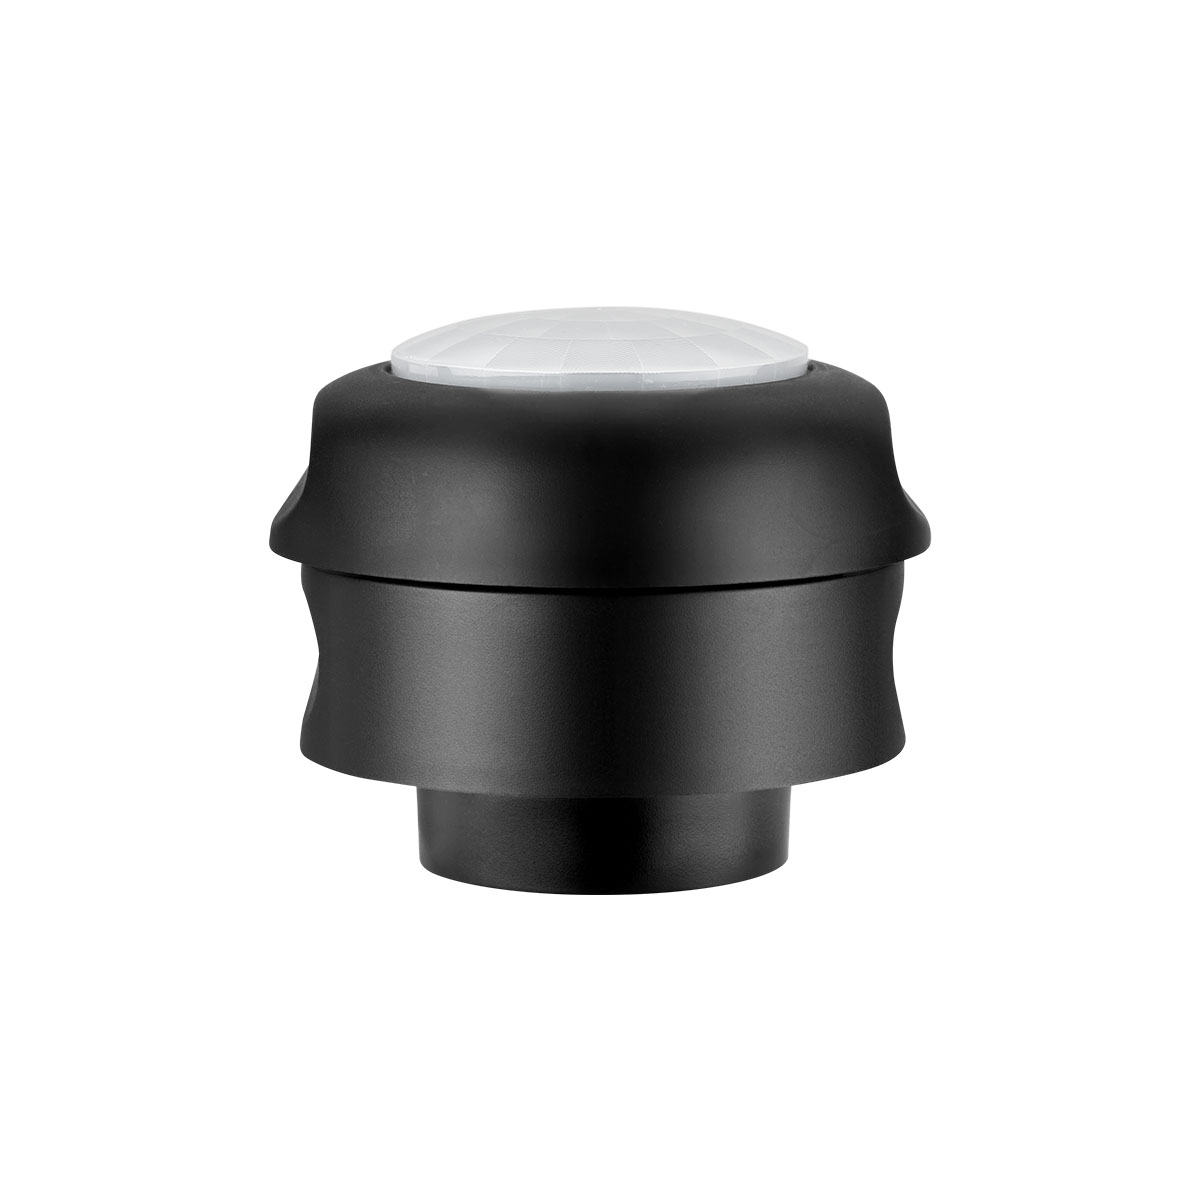
RP0 is a signal booster and it requires very little power consumption during when it is powered on, less than 20mA. Some power bank detects the output current and will shut the output off if output current is very small. That was what happened in this case.
Please find a power bank that can keep constant power output.
For example, this ROMOSS power bank: https://a.co/d/jhVyrz6 has a button to turn on / off the output on the side, when double click this button, it will enter the ‘constant output’ mode and keep the RP0 working. You may check whether your power bank has the same function, or use the ones that have this ‘constant output’ mode.
Keilton APP (3)
Sensors with daylight harvesting can turn off fixtures, when the driver on the fixture will cut off the LED current when 0-10v signal drop down to range of 1%-10%.
Most of outdoor fixture drivers will cut off LED current at 5% to 7% dimming level.
Following are the detailed step-by-step description of the configuration to allow EFS106-DLH sensor to turn on off fixture by daylight harvesting sensors.
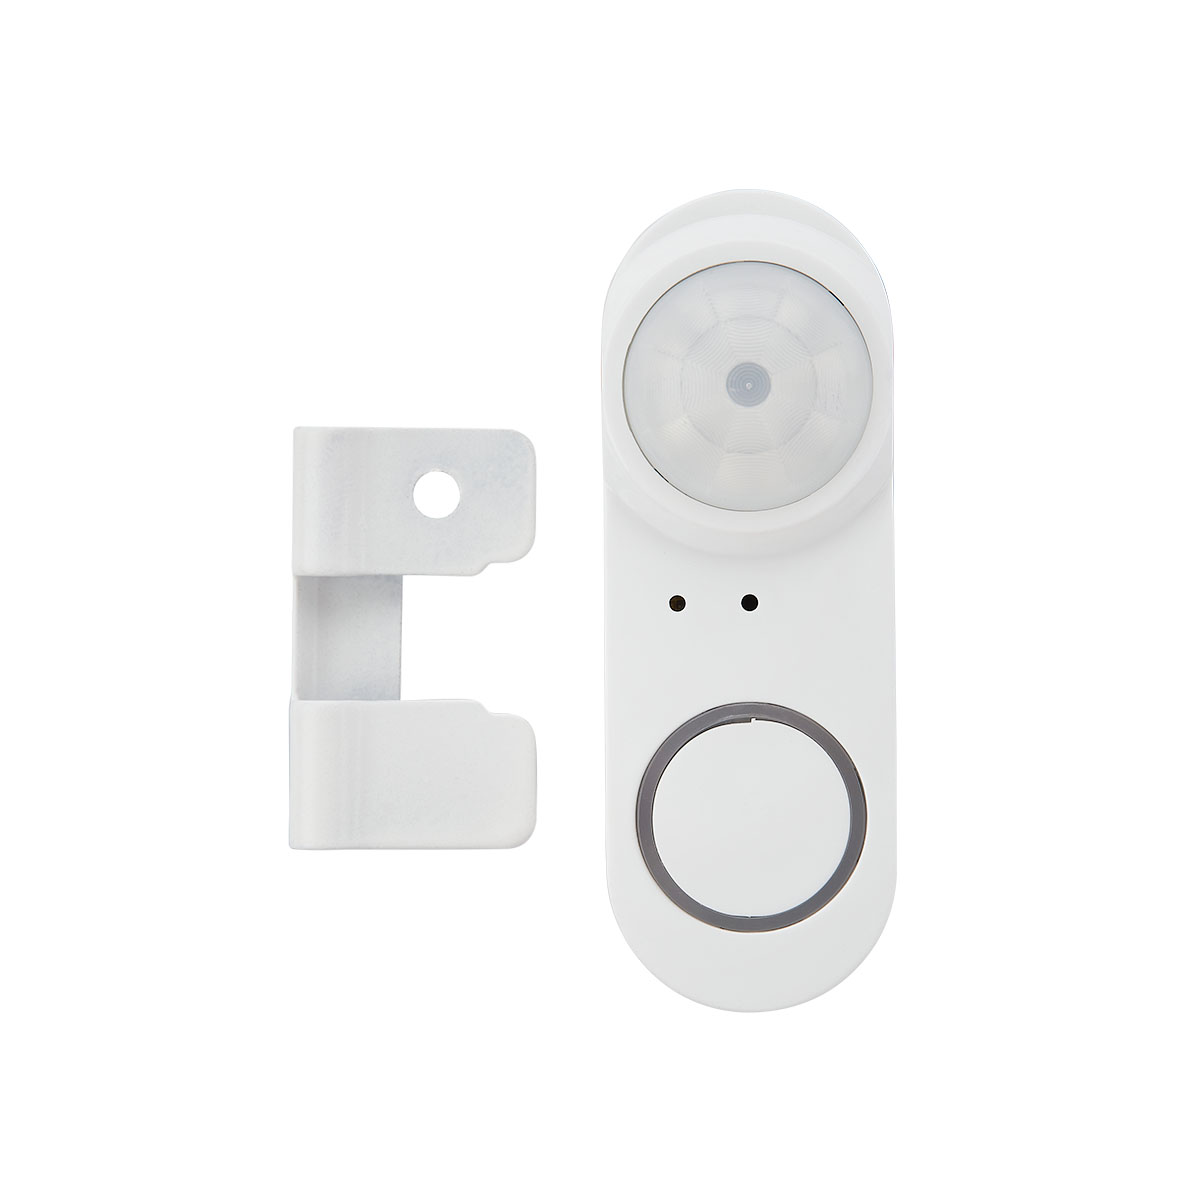
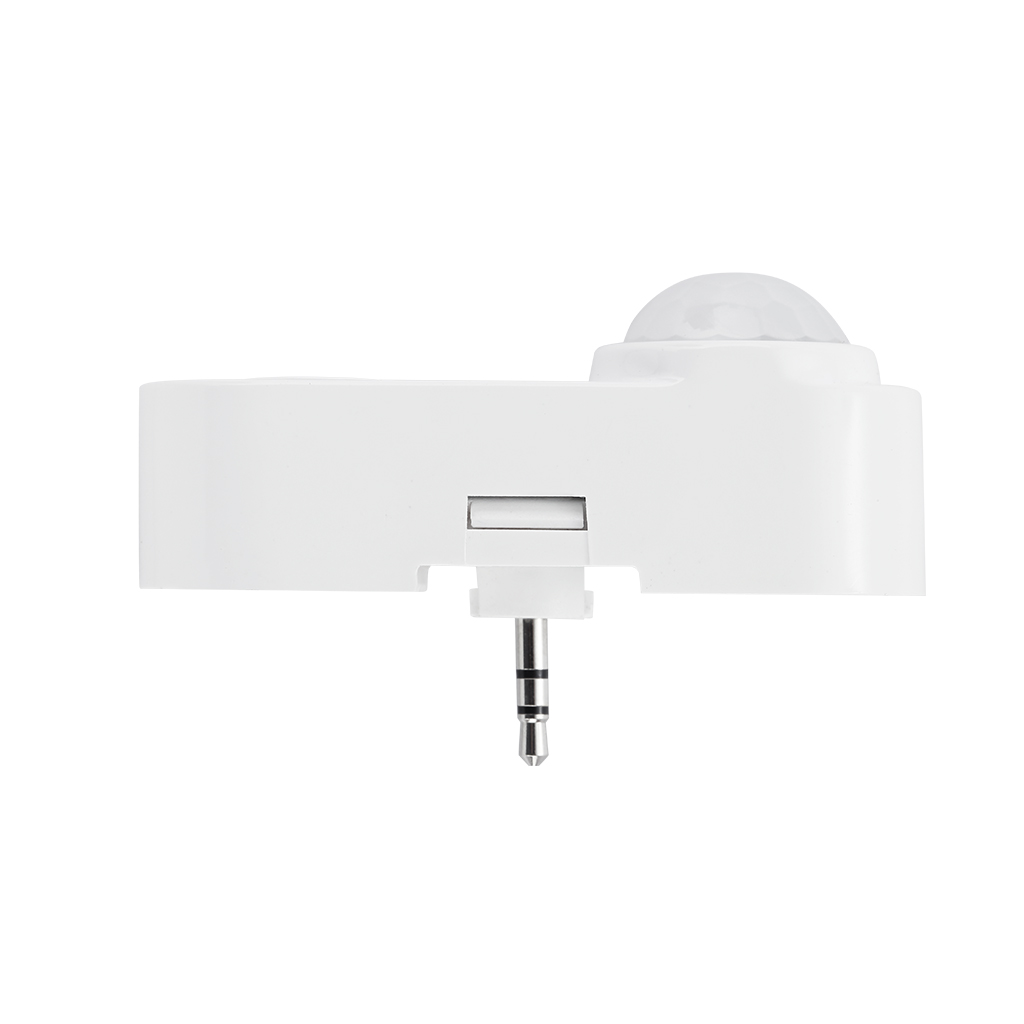
1. Prepare: please have a RP0 and powered it on with a proper power bank.
a) Some power banks may cut off power to RP0 because the current is very small, please make sure to the power bank you use can sustain the continue power supply.
2. Set the RP0 to factory setting before commission (press and hold the reset button on RP0 to reset it when necessary) and keep it powered on with you.
3. Create a new zone on you APP, and name it properly.
4. Commission all EFS106-DLH sensors to the zone.
a) Factory setting RP0 can help commission the sensors.
b) You may need to
5. Commission the RP0 to the zone, and keep it powered on and with you after commissioned it.
a) You need to commission the RP0 from “More”, “Device Info” page on the APP. Factory setting RP0 will show up in ‘Add lights’ page but you won’t be able to commission it from here.
6. Go to ‘Group’ page, click the dimming button on ‘All Lights’ group, click the sensor setting button to bring out the sensor setting page.
7. Enable ‘Daylight harvesting’, enable ‘Motion’ sensor, set proper T1 (say 20 minutes), set T2 to ‘INFINITE’, set proper Dim evel (say 20%). Then click ‘Save’.
a) You will see fixture flush to indicate it received the command.
8. During the night, go to ‘Group’ page, click the dimming button on ‘All Lights’ group, dim all lights to 100% and click ‘A’ to save the auto point.
9. Dim All Lights to 100%.
10. Go to ‘More’ page, click ‘Trim Settings’, select “Groups”, click the ‘>’ beside ‘ALL Lights’,
a) Click ‘Low-End Trim’, select ‘1%’, then click ‘Send’ in ‘Low-End Trim’ section.
i. All sensor should dim to 1%, in this case, fixture should be turned off, otherwise, this won’t work.
11. Dim All Lights to 100%.
12. Go to ‘More’ page, click ‘Trim Settings’, select “Groups”, click the ‘>’ beside ‘ALL Lights’,
a) Click ‘Daylight min dim’, select ‘1%’, then click ‘Send’ in ‘Daylight min dim’ section.
i. All sensor should dim to 1%, in this case, fixture should be turned off, otherwise, this won’t work.
Starting from step 6 in the outdoor jobsite, you may need to walk around with RP0, and click “Save” for a few times to make sure all sensors received setting and commands.
Test to confirm:
1. Turn on all lights from APP, then cover the sensor to prevent daylight from coming to the sensor (or test it in the night), fixture should be turn on and dim to 100%.
2. Remove the cover, use a flashlight or other light to direct at the sensor, fixture should dim down and turn off.
3. Test in the night, the fixture should dim down to Dim Level after T1 timed out, and does not turn off. It dim up to 100% when motion is detected.
- Open the Motion Sensor Testing function on the More page.
- Select “Start Testing”.
- Open the Lights page.
- Walk around under the sensors in question.
- The lights icon will indicate “ON” when you are near the sensor.
- This will identify the sensor and the associated icon in the app.
- Then press and hold the icon till the “Light Dimming” page opens.
- Rename the sensor. Suggest using naming to indicate location, i.e., room number or room name.
- Open the Groups page.
- Add the sensor to the group of lights you wish to control.
- Select the “Light Bulb” icon in the group and then select the “Motion” setting button on lower right-hand corner and choose the settings for your group.
- Select “Save” when complete.
Set the dimming level and CCT setting on the Lights setting page and select ‘A’ button on lower right corner to save the settings.